
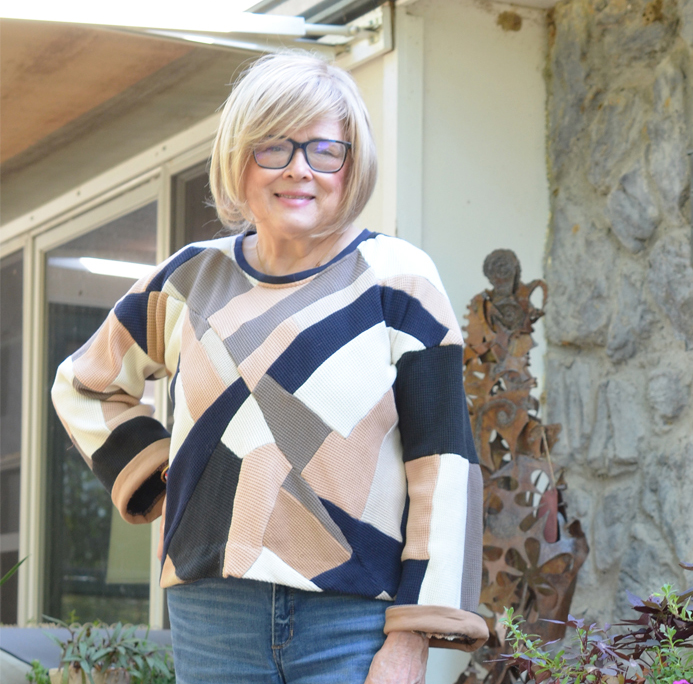

Hello and welcome to a new project finally finished! I call this one “Zero Waste². The reasoning is because this top represents two different zero-waste philosophies. One is a pattern that uses fabric in a way that there is no waste. The second is using cast-off scraps of fabrics from other projects.
The Scraps
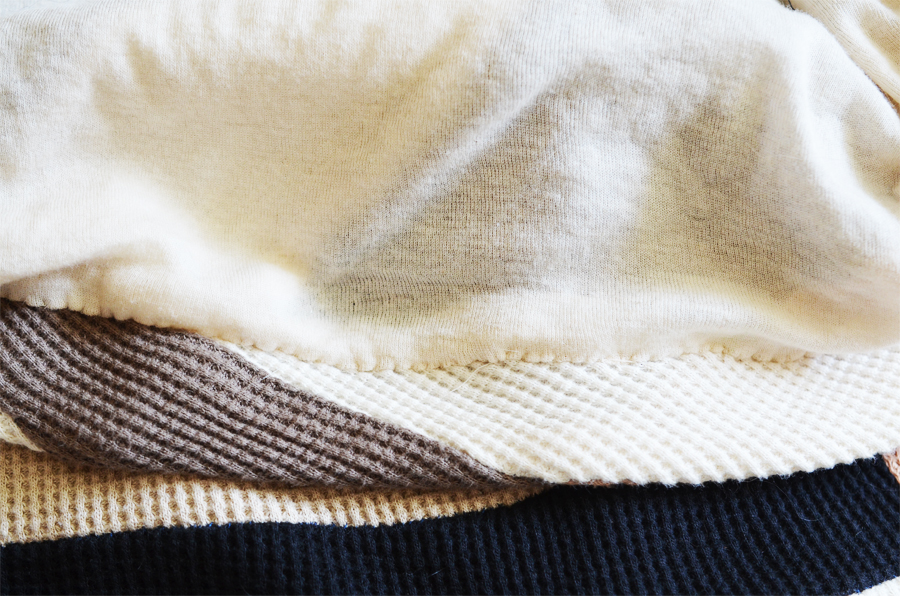
I used scraps of Alabama Chanin’s organic American-grown and processed waffle knit. These were picked up during April’s Project Threadways Symposium at Alabama Channin’s factory in Florence, Alabama, which I attended with my daughter, Rachelle.
Natalie Chanin had participants pick through scrap fabric bins to create zero-waste pieced projects. Once I started stitching, I decided to make a top. That meant I didn’t have too much completed by the end of that particular session. However, I knew I had a larger and much more time-consuming project to finish at home. This top was a recurring project for me throughout the summer.
The Pattern
Since there were mainly small scraps, I hand-pieced them together into a crazy quilt-type pattern. While piecing, I decided that Liz Haywood’s Xanthea was the best top pattern for this technique. The Xanthea is a genius little top constructed from a square. I’ve made the Xanthea once before and go into great detail about its philosophy and construction HERE.
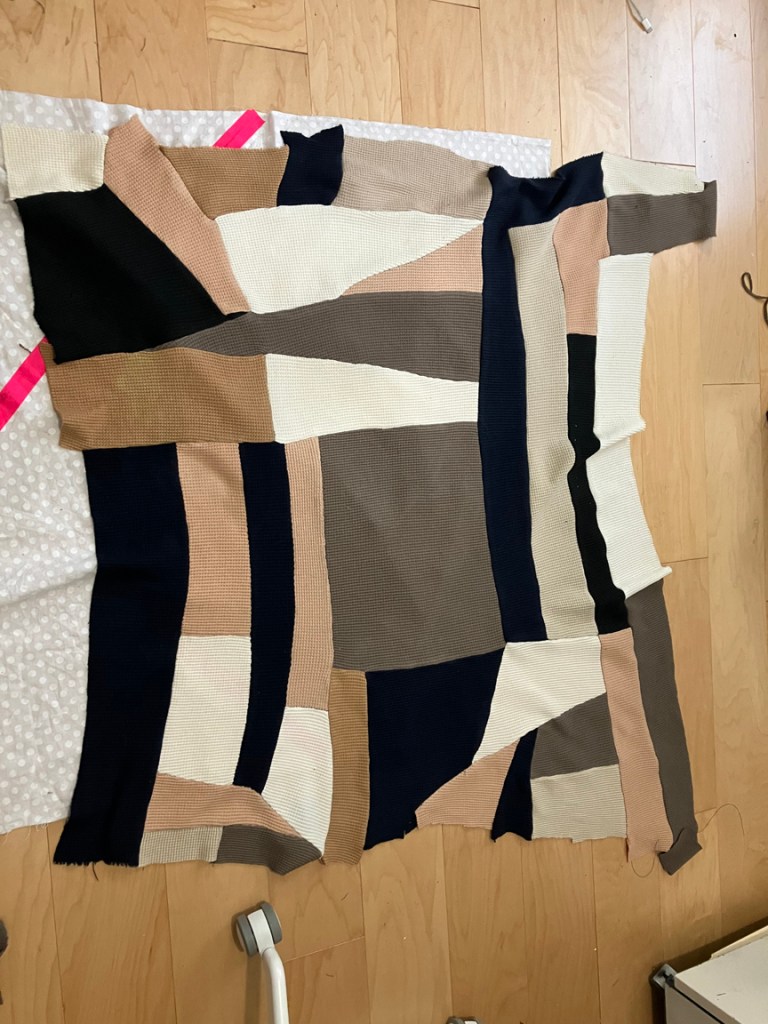
An in-process shot as I was hand piecing. The white fabric underneath my pieced work is a pattern that I made when I created my first Xanthea. To read about that top, click HERE. This top is a square that is sized according to your measurements.

I did all the piecing by hand. using a backstitch. It did take a while!
It Was Going to be a Surprize
As I was piecing, I could only guess how my top would look when finished. Corners could be folded to the center to get an idea of what colors were going to touch each other. But, that only gave me a rough idea. It was only until I sewed the envelope up that I could see how it would all work.
As I mentioned above, this Xanthea is constructed from a simple square. My square was 32″ x 32″. The best way to describe how you sew the top up is to show you a photo of an Apple Dumpling. It is the same principle. The top of the dumpling is the front of the shirt. I even have a picture of an apple dumpling in my first post about making the Xanthea.
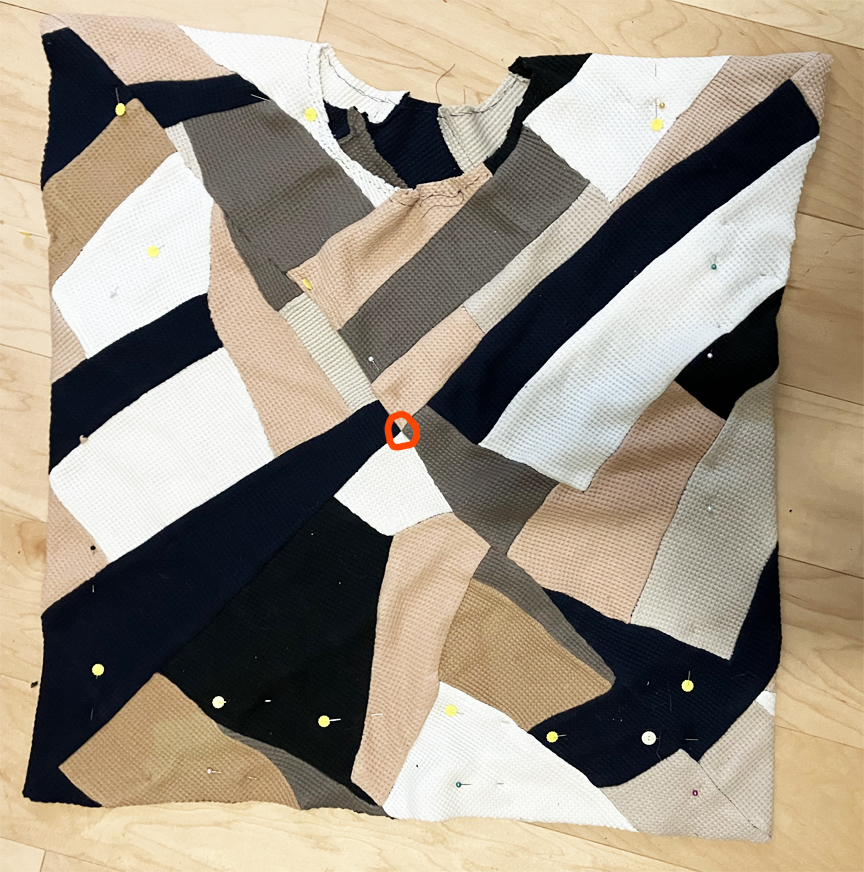
The red circle shows where all four corners meet in the center front of the Xanthea. After making the envelope and using the template to cut out the neck, the next step is cutting the bottom and armholes open.
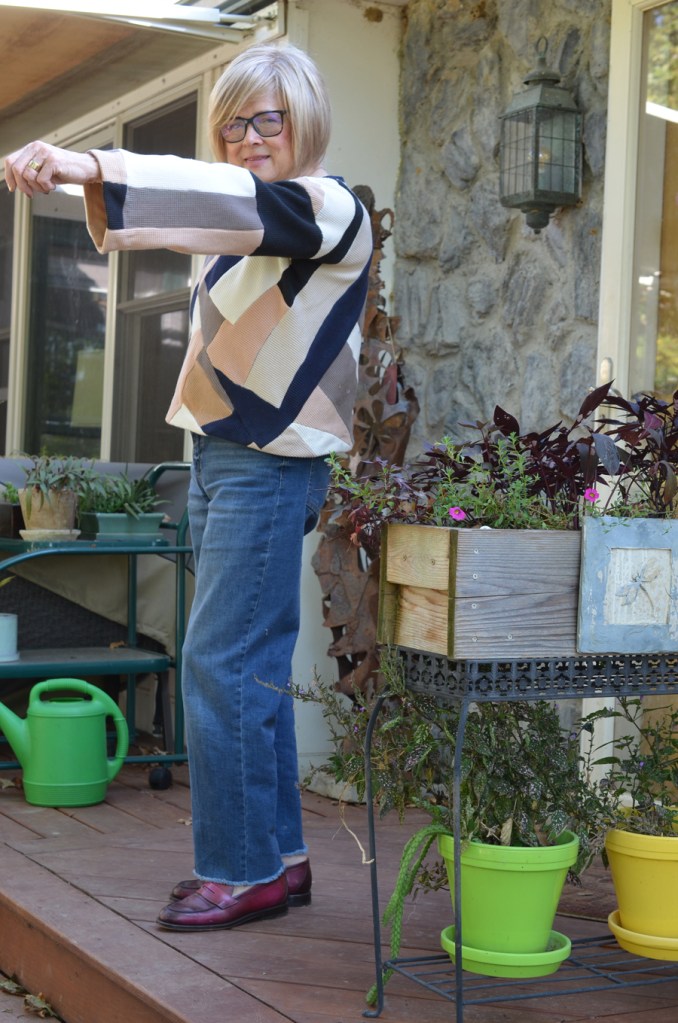
Sides and Back Views


Little Extras
Of course, how a garment is finished is also pretty important. While at the symposium, I scavaged a few pieces of smooth knit from the fabric bins. A piece of navy was used for the neckband and tan for the sleeve facings.
Wanting some structure (and to hide all those raw edges inside), I lined the main body with some lightweight knit from Mood Fabrics. The sleeves are not lined because I like their more unstructured look and I’m not really going to see the inside of the sleeves (and those raw edges as much.)
Also, I shorten my Xanthea. After trying it on with the pants I would mainly wear with it, I decided with the top’s strong patterning, I liked it being a tad shorter.
I considered adding bands to the sleeves and bottom but decided I liked the more formal (or less sweatshirt-like) looks that it gave without them.
I didn’t have pieces of smooth knit that were large enough from what I brought home anyway. However, Alabama Chanin has scrap bundles for sale in color and weight choices. That was tempting to order.
Even though the lining is a very light knit, it still makes for a warm garment. It is hand-sewn at the bottom and around the armholes. If I ever decided to take it out and make a lighter garment it would not be a problem. I would probably never do this, but I’m just saying…
Wrapping This Project Up
Using the Xanthea top pattern for my crazy quilt top cemented one idea I always felt was true. The Xanthea is a very versatile and ingenious pattern. Below is a side-by-side comparison of my two Xantheas. They could not be more different. I do have fabric for a third one, so someday…

Two More Smaller Projects Started at the Threadsway Symposium
The piecework project was the last of three that we started in April. The other two were making a knotted necklace from strips of smooth knit and finger knitting something. These, like the piecework, were finished once I got home.
The Necklace
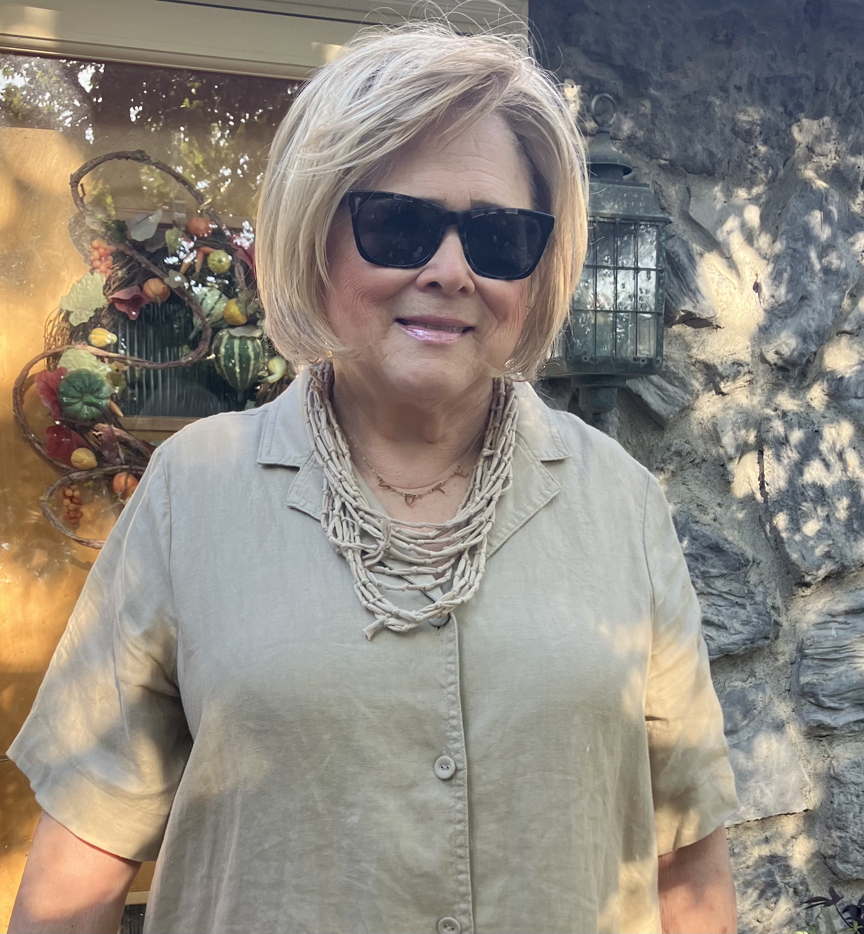
I knotted around 10 1/2 yards of knit strips for my necklace and wore it quite a bit during the summer.
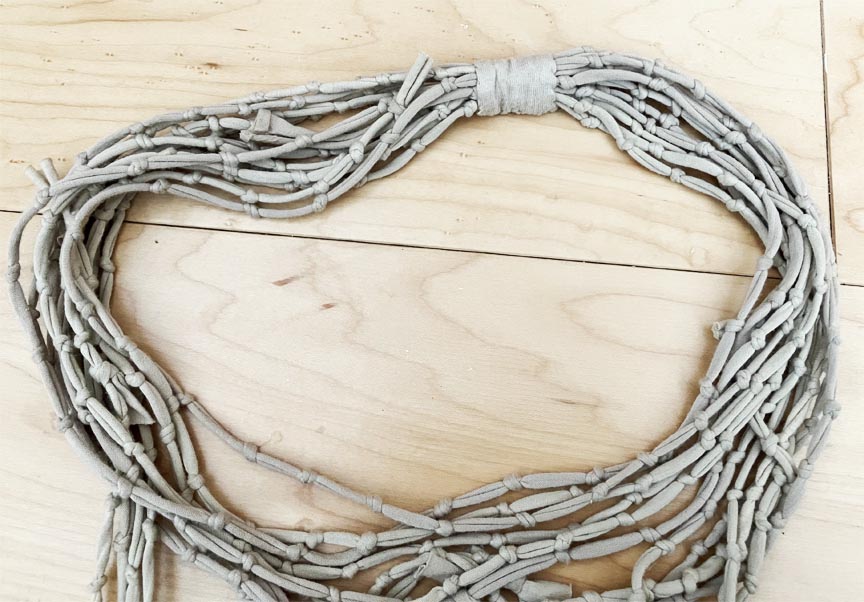
People are always asking me how I finished the back when they find out I made my necklace so here’s a closeup. If you do something like this just remember to give a good tug each time you make a knot.
The Laptop Bag

The second zero-waste project was based on finger knitting. The finger knitting demonstrated at the symposium was a different technique than I was taught This one reassembled the single crochet technique. When I got home, I found a large crochet needle and some yarn from my stash that went with the tan and blue knit strips I brought home.
My bag is lined with some nice felt I had on hand. A friend mentioned that it needed straps and I like her idea. It makes sense to me. Later down the road, I will work on that.
Finally, that absolutely wraps it up!

I’ve talked about the Project Threadways Symposium but haven’t posted any photos. I was so glad I got to experience this with one of my daughters. Rachelle doesn’t sew clothes, but being a fiber artist she certainly appreciated everything about the event.
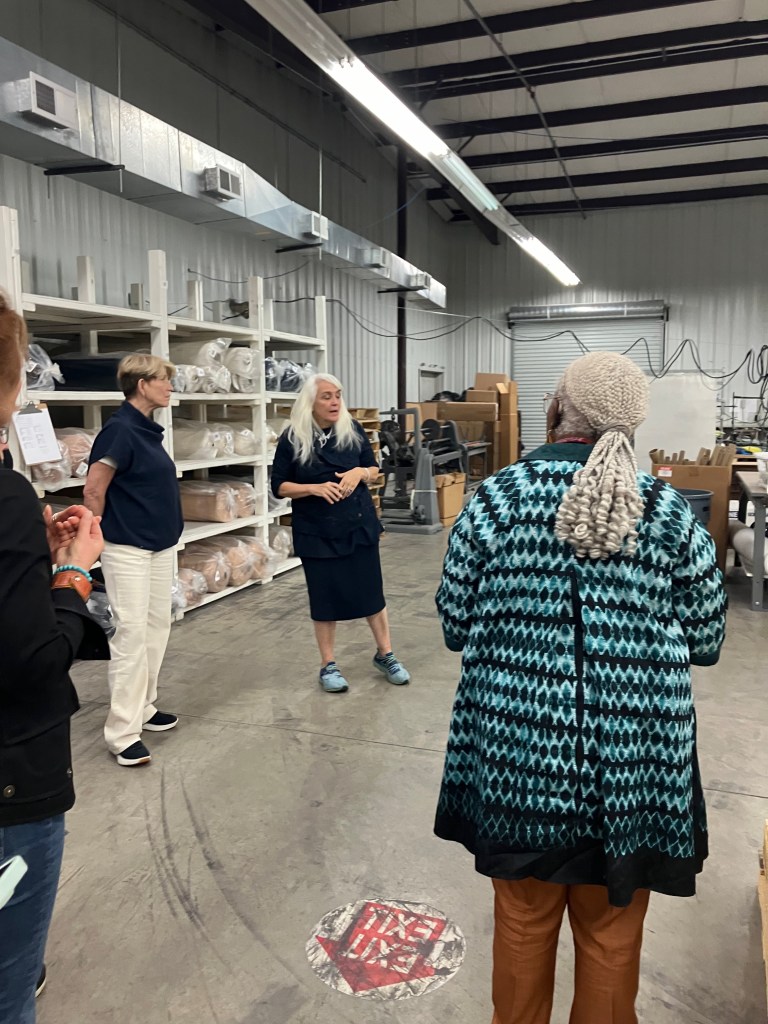
I especially enjoyed the tour of the factory and the frank conversation about trying to survive as an American clothing designer and American producer in the fast fashion China Shein-oriented world.
Take care, everyone,
P.S. I am making Halloween clothes for three of my dogs and will update you on that when they are done. They are going to be so cute!!!!

WOW, I’m impressed. I might have tackled a project like that a number of years ago, but I don’t think my brain would have wrapped around it now. Looks great.
Iris
LikeLiked by 1 person
Thanks, Iris-I will admit that around July it occurred to me that this could be one of those projects that could be shelved for a few months…years or whatever. I had never hand-pieced anything and have a great admiration for those quilters a couple of centuries ago.
LikeLike
Wow! Terri, this top is just amazing! I love how you created it from scraps you rummaged for at the workshop. So, did you have to pay for those, or were they included as part of the workshop? I am so interested in making something like this because I’ve always wanted to make a quilt, but this is more do-able than a full size quilt! Or, at least, it seems like it would be. But, gosh, I’d love more information on your knotted necklace. I even searched youtube for a tutorial, but nothing there remotely looked like yours! You are so talented!
https://marshainthemiddle.com/
LikeLike
Hi, Marsha-Thank you. There were times when I though I just might put it away for a while and go to another project. The scraps were part of the workshop. Natalie Chanin gave three mini-workshops for each of the projects I did. They already had made strips of knit into balls for the necklace and finger knitting.Then she let us raid her scrap bins for the last one, which I turned into a top.I you follow this link, you can see some of us (I’m the 2nd from the left) raiding the bin: https://www.instagram.com/p/C6gnRotsST_/?hl=en&img_index=3
As far as the necklace, they cut strips of knit with the grain and when pulled with pressure, the strips curled into themselves (like all knits want to do) and then they resembled something like yarn. I just tied the ends of the strips together and ended up with over ten yards. I made my single hand knots a little over a inch apart and really tugged on each knot after I made it. I draped it around my mannequin to get the look I wanted and then secured it in the back. It’s a simple project but I do think the thickness and fiber content of the knit would be important. This one is cotton. I hope this helps a bit. Terri
LikeLike
So many interesting things, Terri! The Xanthea + crazy quilt construction came out beautifully – I cannot believe you hand pieced the whole thing.
Many thanks for showing the other things you made and about the Symposium itself.
LikeLike
Hi Liz (got your IG message.) Yes, I am really happy how it turned out. The Project Threadways Symposium was a doable bucket list thing and glad we got to attend.
LikeLike