
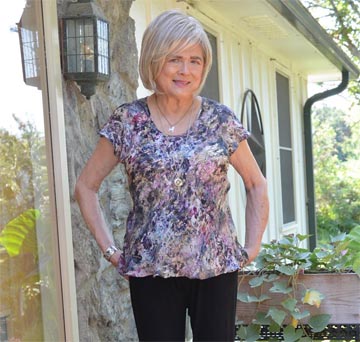
Back in late 2017, I bought one yard of some absolutely gorgeous (to me) fine lightweight Silk Crepe du Chine from Marcy Tilton. Called, Wildflower Meadow, it reminded me of a Monet painting and I had to have it. Marcy Tilton’s fabrics sell out fairly rapidly and this one is no longer available.
With only one yard, I wasn’t sure what I was going to do with it. What can you do with a yard of silk, even if it is 52″ wide? So it stayed wrapped in tissue paper in a drawer for almost four years. I was waiting for a special pattern and one that didn’t waste an inch of my precious silk.
Then around this time last year, Liz Haywood of Craft of Clothes published her zero waste Xanthea T-Shirt. When I read the POST about the Xanthea, I knew this was the design for my silk and ordered it straight away. It helps that Liz always gives a 20% discount on her patterns the first month after release.
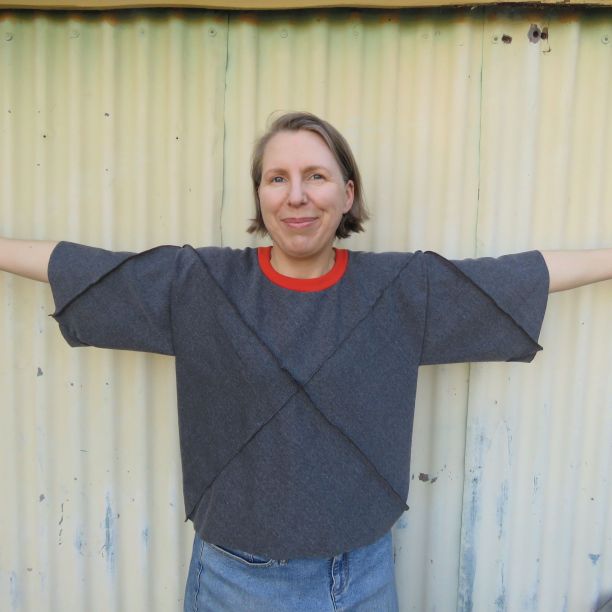
Liz Haywood modeling the prototype of the “Xanthea”
Liz describes this design as “The Xanthea t-shirt is a zero waste pattern with an unusual construction. The body hangs on the bias with an X-shaped seam across the front.
Xanthea comes in nineteen sizes, to fit a 86cm/34″ bust to a 177cm/70″. The fit is loose and slightly boxy.
It’s designed for knit fabrics such as t-shirt knit, jersey, and french terry. Knit fabric versions feature a zip-in-seam pocket.
The pattern can also be made in wovens such as linen, Tencel, viscose, lawn, chambray, and boiled wool.
Included is a long sleeve option which isn’t zero waste; it’s low waste and designed to leave you with useable rectangular offcuts.”
She does not include silk. However, I think Silk Crepe de Chine makes this top amazing and takes it to another level!
The Pattern
There is no paper pattern for the main body of the Xanthea. Everything is drawn out with a ruler directly on the fabric. To be on the safe side (and easy on my nerves!), I first cut a muslin to check the sizing and fit.
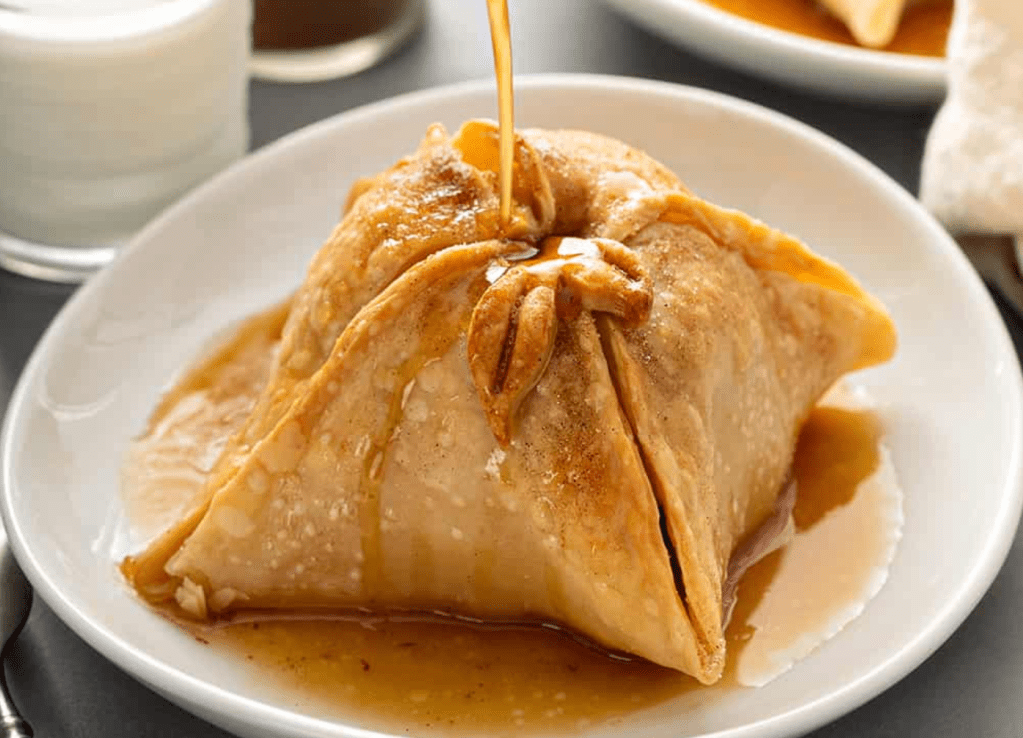
This top is constructed from a simple square. My square was 32″ x 32″. The best way to describe how you sew the top up is to show you a photo of an Apple Dumpling. It is the same principle. The top of the dumpling is the front of the shirt.
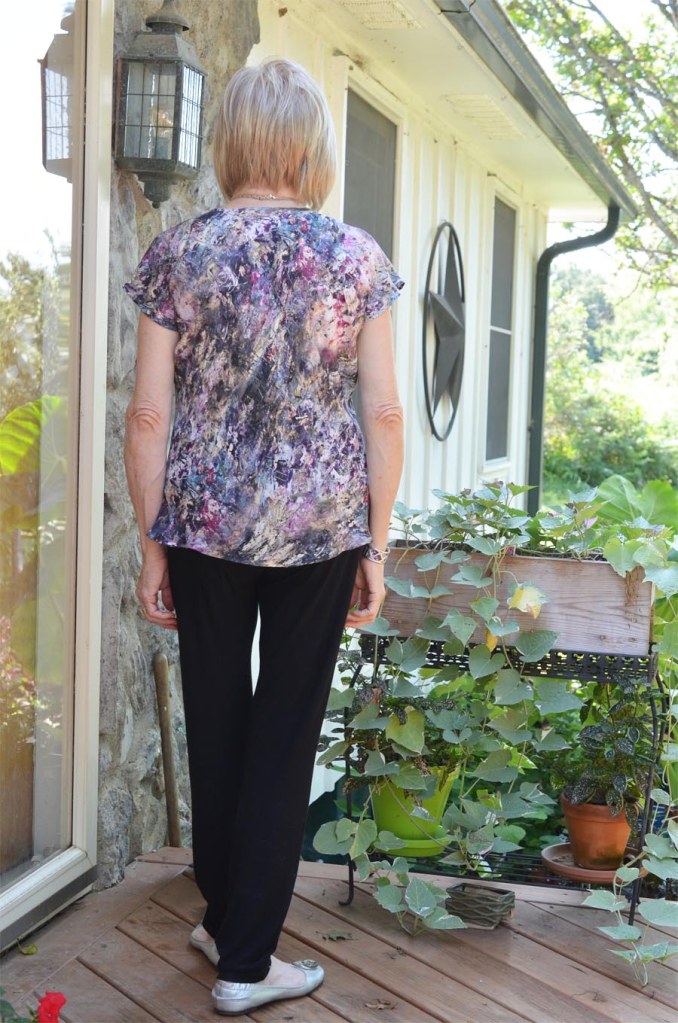
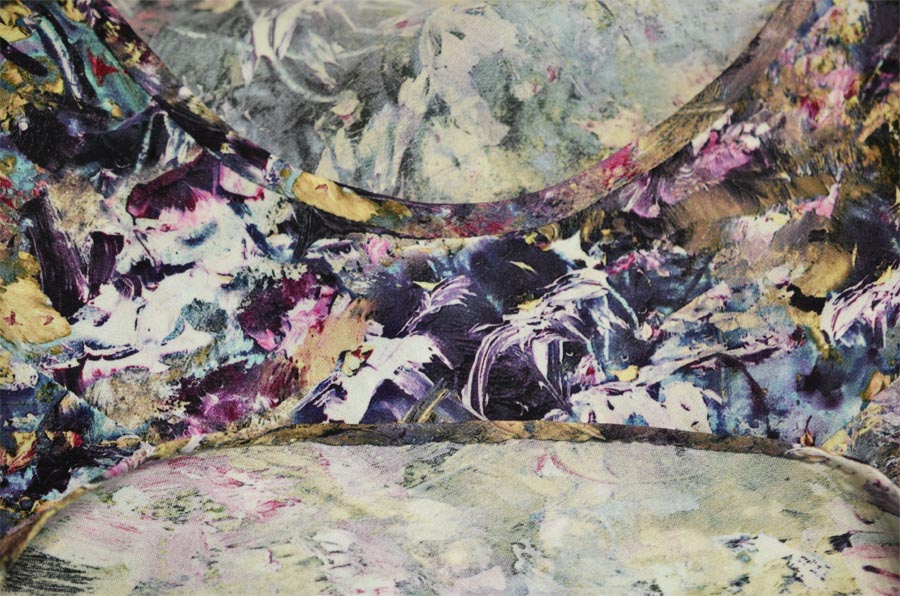
The back is plain. The action is with the diagonal seams in the front. With printed fabric, they are hard to see. However, they will be noticeable with my process photos a little later.
I chose not to have sleeves. First, it was because I really didn’t think I would have enough material (I had forgotten how wide this fabric was). When it was obvious I had enough fabric I still stuck to my original plan. There were two reasons for this: I wanted to wear it under jackets in the Fall and I really thought, with the silk, the top would be more to my liking if it was sleeveless. I have always liked capped sleeves.
Cutting the Envelope
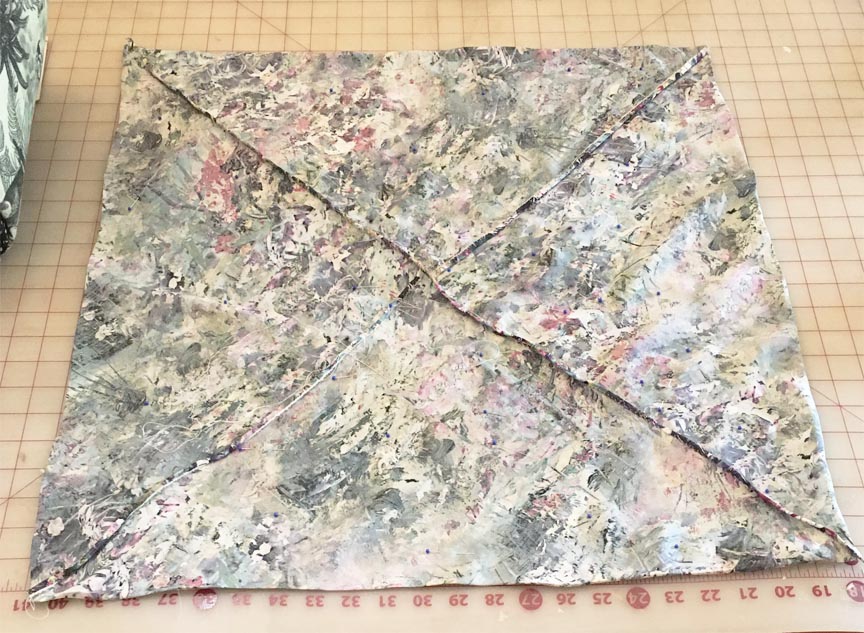
Back to general sewing. When you finish sewing your diagonal seams, you have a closed square that you have to cut open.
The closed envelope that you have to cut open
The first step in cutting your envelope open is to cut corner to corner along the bottom. This, of course, will be the bottom of the top. It is now time to cut the arm openings which are on the top left and right sides. My armhole depth is 10″. Since I was not putting the sleeves in, I had to come up with a depth that I would be happy with.
The final step in cutting open the envelope is the neckline. Liz gives you a pattern for this step. Actually, she gives you two, one for wovens and one for knits.
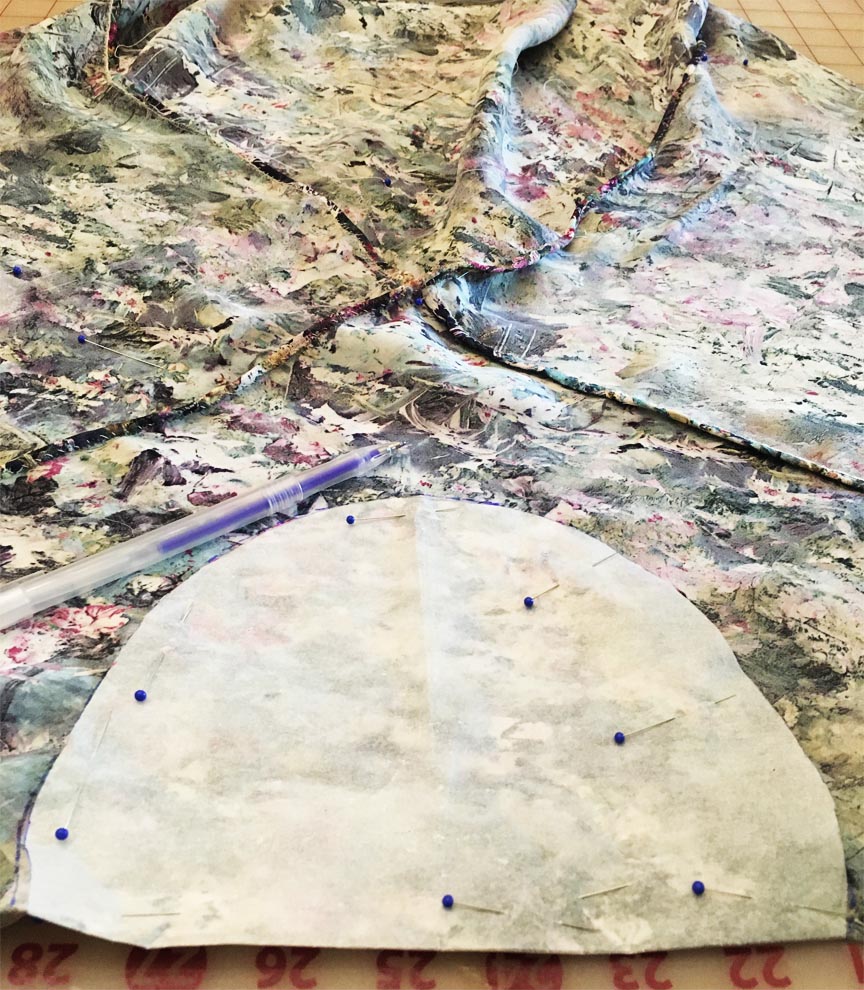
Now your envelope is well on its way to becoming a top!
How I Finished My Xanthea
I had to go my own way when it came to finishing my top. This was because I wasn’t putting in the sleeves and my fabric was lightweight silk.
First up, is how I finished the seams of the X in the front. Liz always calls for serged seams for her designs and if I had been working with a knit, that is precisely what I would have done. Also, her seams are 1/4″. This is not wide enough to make a French seam, which is my finished seam of choice.
I did not think about this when I cut my square out. But now I wonder if I could have done French seams if I had just cut my square 1/2 ” larger all the way around? This is something I am going to try the next time I make this top.
What I did instead was to trim all the selvedges off my fabric and I used them to bind my X seams. Yes, they were narrow. I machined sewed one side of the selvedge on, turned, pressed, and then hand stitched it into place. It made for a very narrow hem.
The next problem was how to finish the bottom of the armholes. They were just slits cut into the sides and I knew that I was going to try and hand stitch as narrow as a hem as I could. But that was going to be a problem at the bottom. If I had put sleeves in, this would not have been a problem.
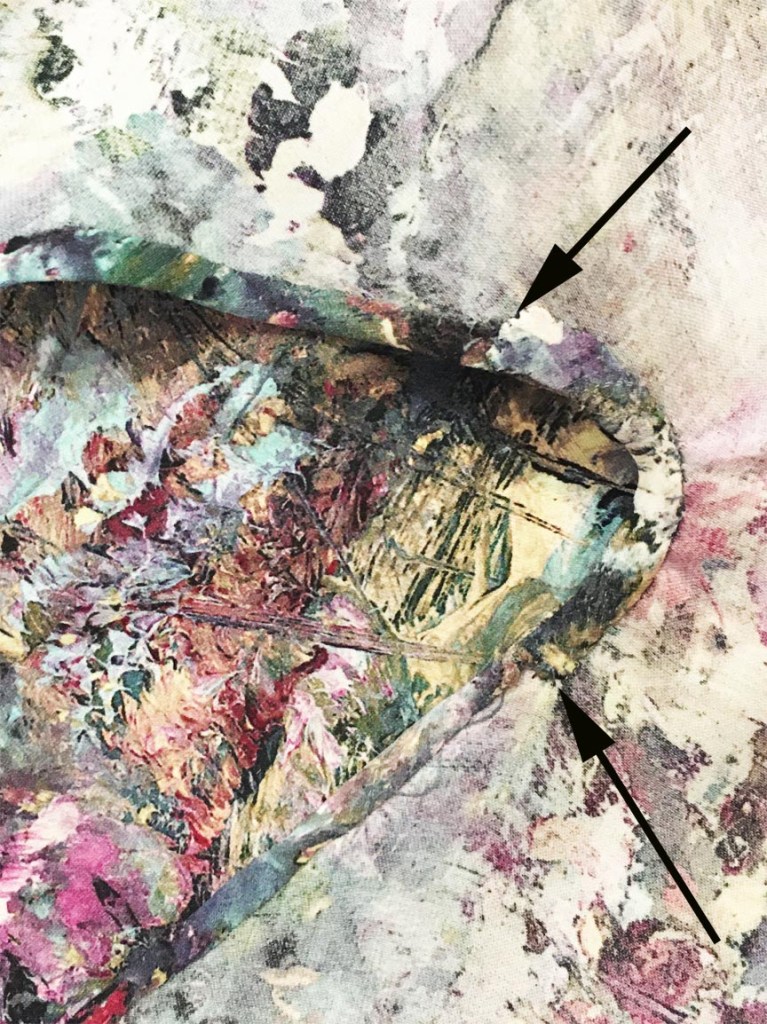
I solved this by cutting two pieces of self-bias tape and sewed them around the bottom of the arm slits. The arrows on the photo above show where the bias binding begins and ends. They were such small areas and small seams that I decided that it was easier to do this step by hand than by machine.
I then finished the armhole edges and the bottom of the top with as small of a hem as my fingers would allow. I wouldn’t call this a handkerchief edge, but it’s still pretty narrow and I’m happy with the results.
That left the neckline. I wanted some structure so cut more self-bias tape and created a thin band around the neck. This added a small detail that I really like.
Her knit version of this top does call for binding around the neck so I basically took that step and added it to my top.
The one step that I left out was using the cut-out of the neckline for a back-facing. I’ve done this step with her Zero-Waste Caftan and really like the effect. However, when I hand hemmed the facing it became very misshapened and I didn’t like that at all. It was used to get my bias cuts for the armholes.
That finishes the actual sewing bits.
My Final Thoughts
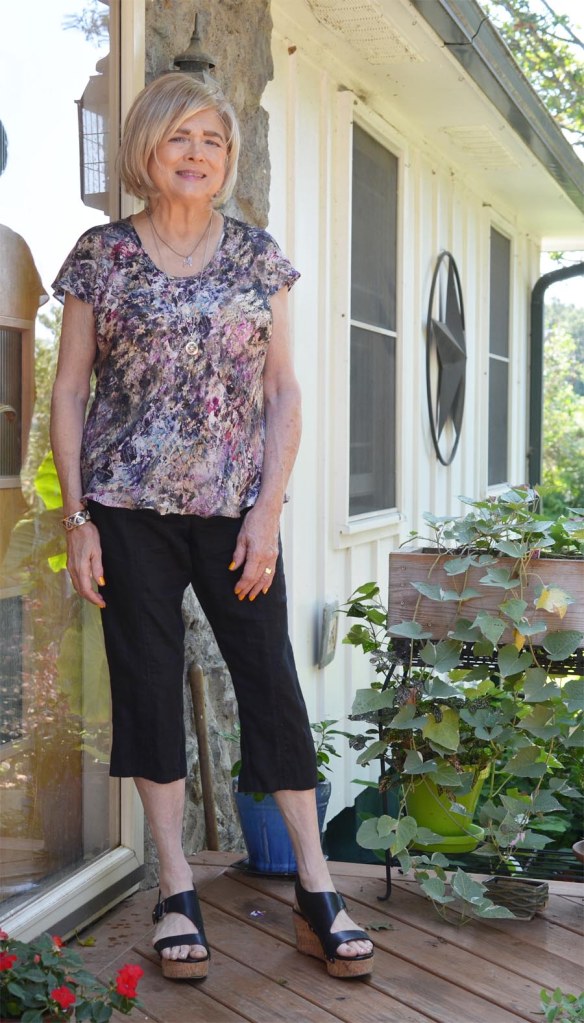
This pattern is just genius and I will be making it again. I have already organized my MakeNine2023 list and this top is included. The first thing I am amazed about is how well it fits my body and I was really worried about this when I decided to make it up. I have a three-inch difference between my upper bust and full bust. That means I always am required to do a FBA (full bust adjustment). Of course, with this pattern, that was impossible. But with the bias cut, it drapes and fits just fine!
And about that draping. Another feature that I am thrilled about when it comes to my top is the gentle fabric undulation of the bottom and the sleeves. I know this is because of the lightweight silk I used but I love the effect and look. I am using a heavier fabric next year and know my next top probably won’t do this.
This does bring up something that I’ve been thinking about when I was making this top. Does it make any difference whether the vertical length of the top is with the grain or cross-grain? Honestly, I just didn’t think about this when I was cutting the top open. It only occurred to me when I was almost finished. It seems that mine is cross-grain. I’m wondering if that is one of the factors of the gentle undulation. If it is, that was a happy accident!
With my next top, the vertical back will be on the straight grain and we will see what happens.
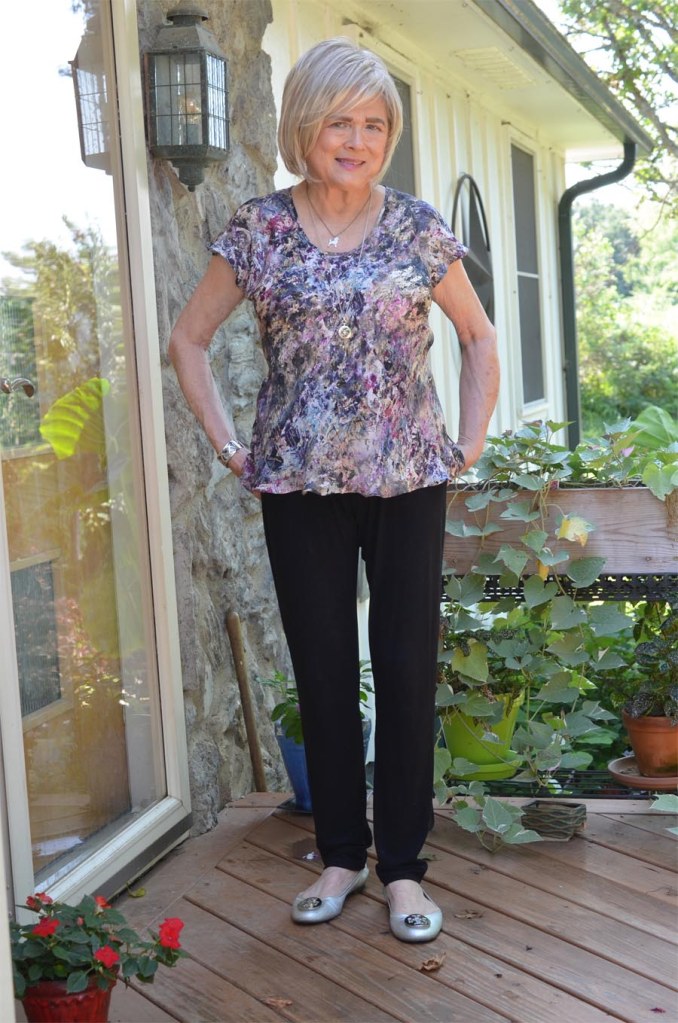
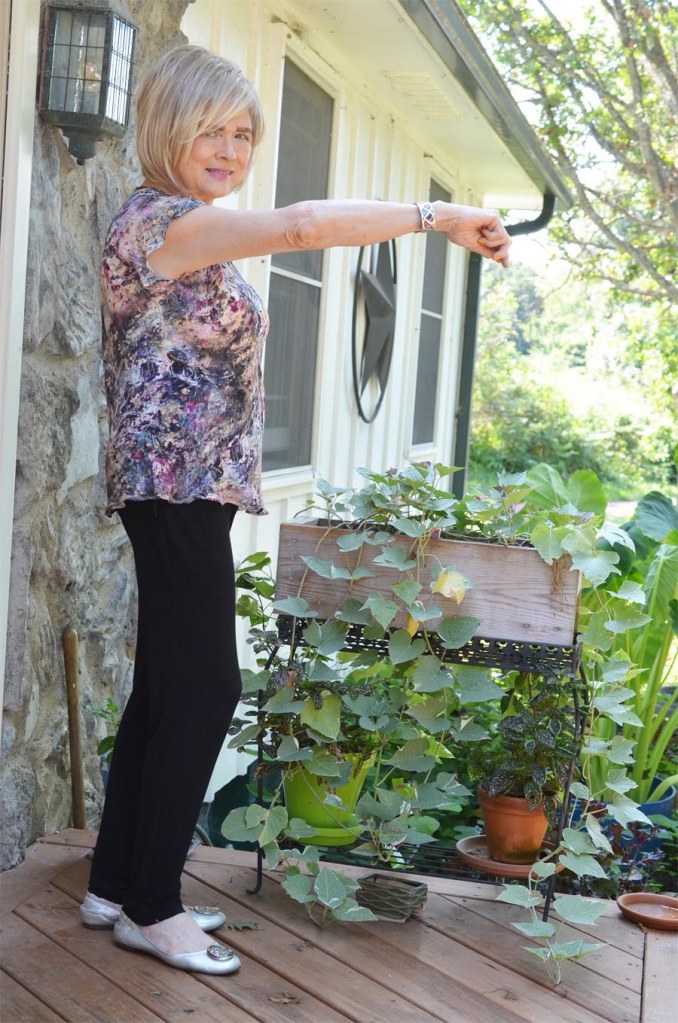
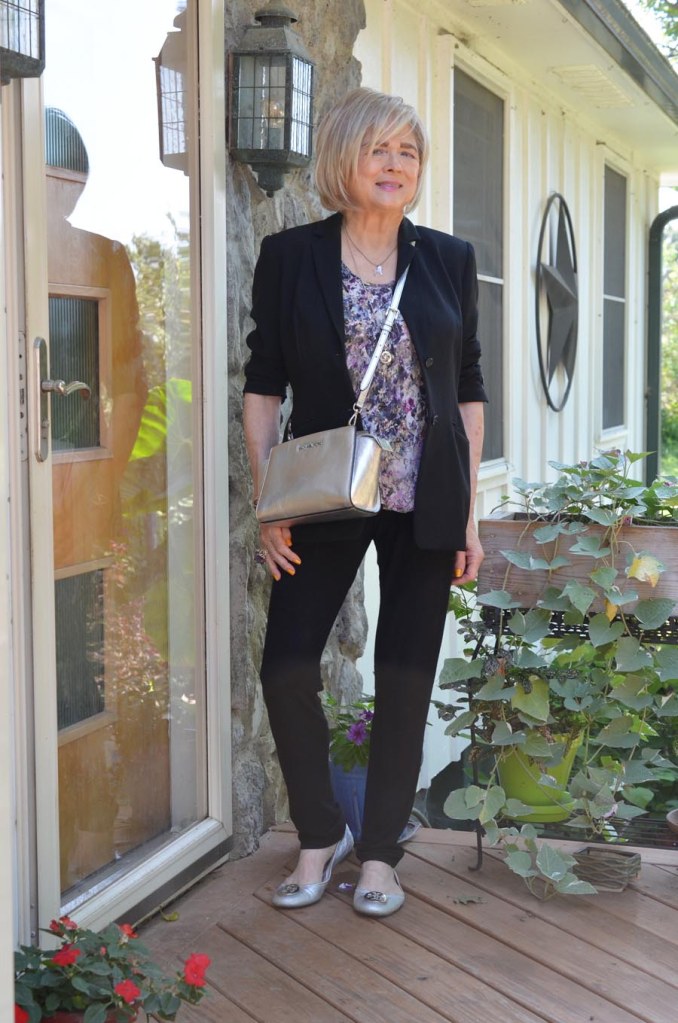
Taking It Into Fall Weather
Being without the sleeves, I feel that I can take this top into fall. When Fall hits, I grab one of my two black blazers and I had to check how the top fits in with them. It’s good.
In closing, I do realize that this top was about 90% hand stitching. It was fun to just take it slow and work on my hand stitching techniques. When I came back to sewing, I knew I really didn’t need any clothes, but I wanted the fun of creating and being able to take my time with a project. This is a much different attitude than I had when I was much younger. Although I will never go full-on Bernadette Banner, I will always find ways to use handwork in my garments, (unless it’s s knit, I suppose). For me, making my own garments is quite literally “Slow Fashion!”
I think that is about it. This pattern gets two thumbs-up from yours truly.
It never hurts to have an extra set of links so:
Liz Haywood’s Craft of Clothes ETSY store HERE.
Liz Haywood’s original blog post introducing The Xanthea HERE.
A Bit of Pattern Trivia
I always wondered how this pattern got its name. Was Xanthea a sister city of Xanadu that I had never heard of? Liz filled me in (and she had no idea I had wondered about the name). Xanthia is a combination of Anthea, who is Liz’s pattern editor, and the top’s front X.
And Finally, my Make9 Puzzle
It is so gratifying to fill in another piece of my Make Nine 2022 puzzle. I am now up to five things. I have also been working on my hat box FOREVER but it is almost finished. The next puzzle piece after the hatbox is the Cashmerette Concord T-shirt.

Well, that is it. Take care, stay creative and Sew On!

A lovely top, Terrie, and so beautiful in that silk! Thank you for choosing this pattern to make it with.
You are right about the bias cut – even in stable fabrics on very large busts, no darts are required and the hem hangs level.
LikeLiked by 1 person
Thank you Liz. It is an amazing pattern. I put up a review about it on Pattern Review today too.
LikeLiked by 1 person
Girl, this is amazing.
It’s actually cool to see this on a print piece because those seams are basically camouflaged.
And I do love the undulations of the hemlines.
Great work!!
OXOX
Jodie
http://www.jtouchofstyle.com
LikeLiked by 2 people
Thanks Jodie, It’s a pretty slick pattern. It feels like it is just floating around my body. Probably that sounds weird but that how I feel about it when I wear it.
LikeLiked by 1 person
What a lovely shirt is this! You are lucky, I can’t wear sleeveless shirts any more… I like the print very much although these are not my colours. And the cut is amazing. Also I’m impressed of all the other beautiful things you have already made in 2022.
Greetings from France.
XOXO Reni
LikeLiked by 1 person
Hi, Reni, France!? WOW-I only dream (been there once). Someday, I might make this top with sleeves. The long sleeve version looks like a very cozy “sweatshirt” as we call them here. Have fun in France!
LikeLiked by 1 person
I am so completely intrigued by this! One of the things I hate about sewing is all of the scraps. When I was teaching, the art teacher actually used fabric scraps to create bowls. It was quite the process. I should look into that the next time I find myself with loads of scraps!
Gorgeous top, Terri!!
http://marshainthemiddle.com/
LikeLiked by 1 person
This was so much fun to make! Zero Waste doesn’t have too many scraps. That’s what I like about it.
LikeLike
What a beautiful blouse! I can see why you couldn’t pass up this fabric. I know nothing about sewing but I can appreciate amazing handiwork.
https://www.kathrineeldridge.com
LikeLiked by 1 person
Thank you, yes I just couldn’t pass up this fabric and it sat for about four years until I found a pattern that wouldn’t waste a bit of it. Thanks for dropping by.
LikeLike
Gorgeous, Terri! The pattern is genius, and your modifications worked beautifully. Handwork like this always makes me think about the thousands (tens of thousands?) of years of human history in which people have been sewing protective and decorative garments for survival and aesthetics…and that makes me smile!
LikeLiked by 1 person
Thank you Sally, I feel that hand work does connect us to all those incredible women in our past-you are very very correct about that one.
LikeLike
I love the top Terri! It looks so chic with the black jacket and trousers. Thanks for linking up!
Emma xxx
http://www.style-splash.com
LikeLiked by 1 person
Thank you, I did really like how this one turned out.
LikeLike
This is such a beautiful top! Thanks for sharing.
LikeLiked by 1 person
Thank you, I can see making this again-a great pattern when you only have one yard of fabric.
LikeLike
Haha! Yes, indeed! That really is SLOW FASHION!! You have a lot of patience!
Blessings!
❤️carmen
LikeLike